Top Contacts
|
|
Top Contacts |
|
|
Top Contacts |
On Mac:
On iPhone or iPad:
Available only on iPhone and iPad.
On Mac:
On iPhone or iPad:
On Mac:
On iPhone or iPad:

On Mac:
On iPhone or iPad:

On Mac:
On iPhone or iPad:

On Mac:
How to add pre-defined fields:
How to add custom field:
On iPhone or iPad:
How to add pre-defined fields:
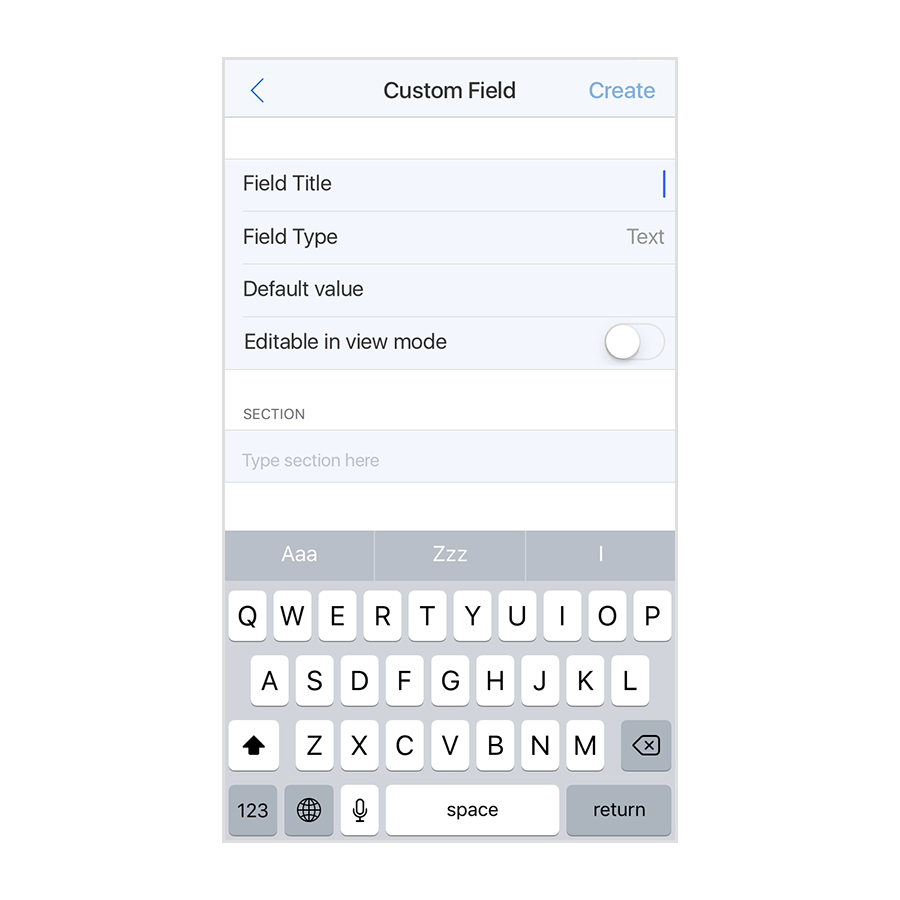
How to add custom field:
On Mac:
On iPhone or iPad:
On Mac:
On iPhone or iPad:
On Mac:
On iPhone or iPad:
On Mac:
On iPhone or iPad:
Available only on iPhone and iPad.
On Mac:
On iPhone or iPad:
On Mac:
On iPhone or iPad:
On Mac:
On iPhone or iPad:
On Mac:
On iPhone or iPad:
On Mac:
How to add pre-defined fields:
How to add custom field:
On iPhone or iPad:
How to add pre-defined fields:
How to add custom field:
On Mac:
On iPhone or iPad:
On Mac:
On iPhone or iPad:
On Mac:
On iPhone or iPad: