Top Contacts
|
|
Top Contacts |
|
|
Top Contacts |
On Mac:
On iPhone or iPad:

On Mac:
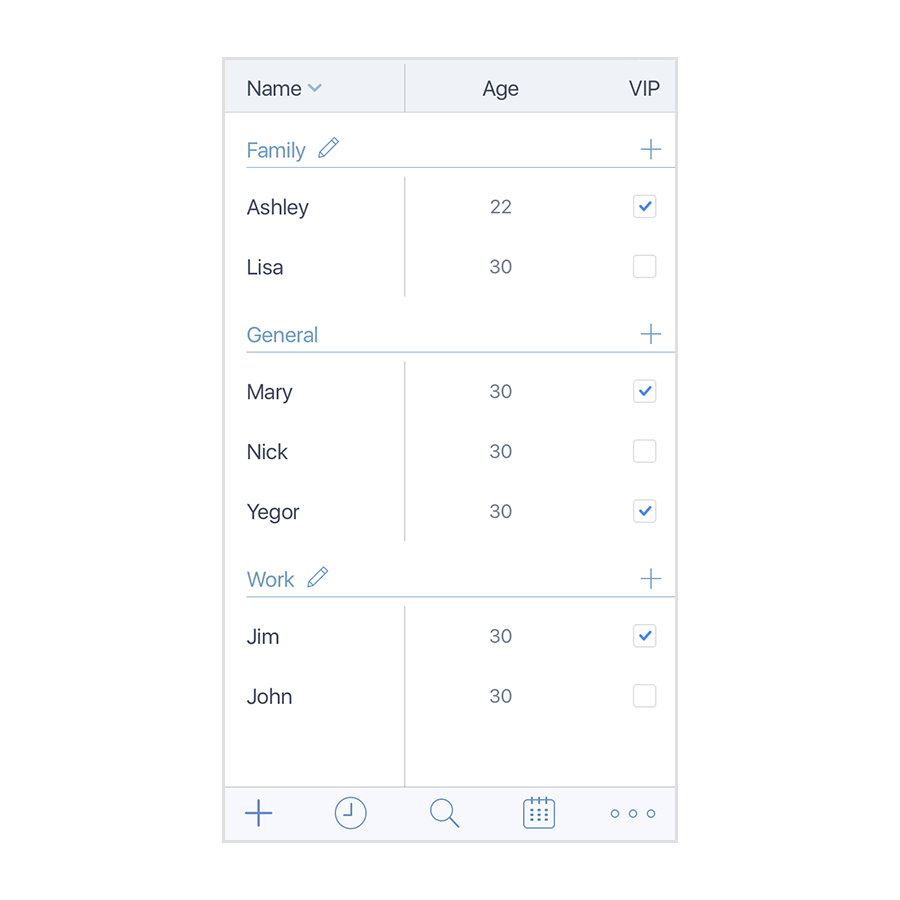
To create a contact in a specific group, click a "+" button on the right from the group name.
On iPhone or iPad:
On Mac:
On iPhone or iPad:
On Mac:
On iPhone or iPad:
On Mac:
On iPhone or iPad:


On Mac:
On iPhone or iPad:
On Mac:
On iPhone or iPad:
On Mac:
On iPhone or iPad:
On Mac:
Please note, all recently viewed contacts also appear in the "Recents" list.
On iPhone or iPad:
Please note, all recently viewed contacts also appear in the "Recents" list.

On Mac:
On iPhone or iPad:
On Mac:
On iPhone or iPad:

On Mac:
On iPhone or iPad:
On Mac:
On iPhone or iPad:
On Mac:
To create a contact in a specific group, click a "+" button on the right from the group name.
On iPhone or iPad:
On Mac:
On iPhone or iPad:
On Mac:
On iPhone or iPad:
On Mac:
On iPhone or iPad:
On Mac:
On iPhone or iPad:
On Mac:
On iPhone or iPad:
On Mac:
On iPhone or iPad:
On Mac:
Please note, all recently viewed contacts also appear in the "Recents" list.
On iPhone or iPad:
Please note, all recently viewed contacts also appear in the "Recents" list.
On Mac:
On iPhone or iPad:
On Mac:
On iPhone or iPad:
On Mac:
On iPhone or iPad: